# <input> Development
The **<input>** component provides an interactive way to receive user input of various types, including **date**, **checkbox**, and **button**. For details, see [input](../reference/arkui-js/js-components-basic-input.md).
## Creating an <input> Component
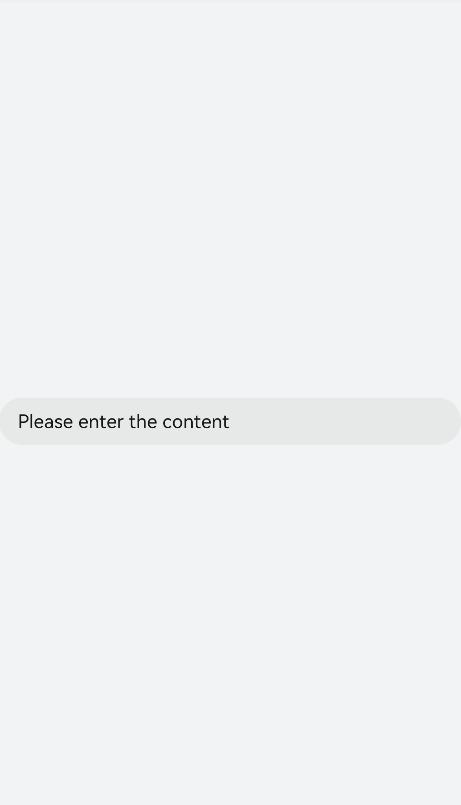
Create an **<input>** component in the .hml file under **pages/index**.
```html
Please enter the content
```
```css
/* xxx.css */
.container {
width: 100%;
height: 100%;
flex-direction: column;
justify-content: center;
align-items: center;
background-color: #F1F3F5;
}
```

## Setting the Input Type
Set the **type** attribute of the **<input>** component to **button**, **date**, or any of the supported values.
```html
```
```css
/* xxx.css */
.container {
width: 100%;
height: 100%;
align-items: center;
flex-direction: column;
justify-content: center;
background-color: #F1F3F5 ;
}
.div-button {
flex-direction: column;
align-items: center;
}
.dialogClass{
width:80%;
height: 200px;
}
.button {
margin-top: 30px;
width: 50%;
}
.content{
width: 90%;
height: 150px;
align-items: center;
justify-content: center;
}
.flex {
width: 80%;
margin-bottom:40px;
}
```
```js
// xxx.js
export default {
btnclick(){
this.$element('dialogId').show()
},
}
```

> **NOTE**
> - For wearables, the input type can only be **button**, **radio**, or **checkbox**.
>
> - The settings of **checked** take effect only when the input type is set to **checkbox** or **radio**. The default value of **checked** is **false**.
## Event Binding
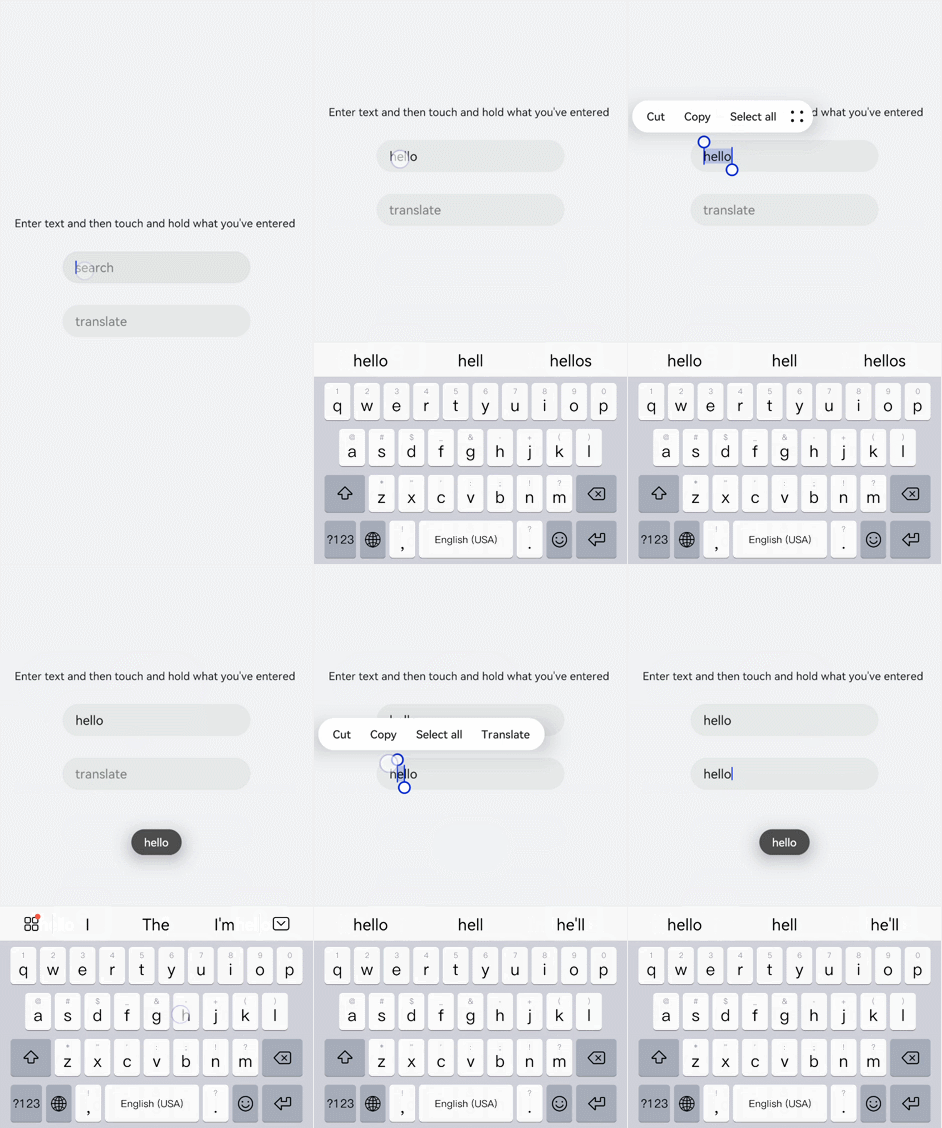
Add the **search** and **translate** events to the **<input>** component.
```html
Enter text and then touch and hold what you've entered
```
```css
/* xxx.css */
.content {
width: 100%;
height: 100%;
flex-direction: column;
align-items: center;
justify-content: center;
background-color: #F1F3F5;
}
.input {
margin-top: 50px;
width: 60%;
placeholder-color: gray;
}
text{
width:100%;
font-size:25px;
text-align:center;
}
```
```js
// xxx.js
import promptAction from '@ohos.promptAction'
export default {
search(e){
promptAction.showToast({
message: e.value,
duration: 3000,
});
},
translate(e){
promptAction.showToast({
message: e.value,
duration: 3000,
});
}
}
```

## Setting the Input Error Message
Add the **showError** method to the **<input>** component to display an error message in the event of incorrect input.
```html
```
```css
/* xxx.css */
.content {
width: 100%;
height: 100%;
flex-direction: column;
align-items: center;
justify-content: center;
background-color: #F1F3F5;
}
.input {
width: 80%;
placeholder-color: gray;
}
.button {
width: 30%;
margin-top: 50px;
}
```
```js
// xxx.js
import promptAction from '@ohos.promptAction'
export default {
data:{
value:'',
},
change(e){
this.value = e.value;
promptAction.showToast({
message: "value: " + this.value,
duration: 3000,
});
},
buttonClick(e){
if(this.value.length > 6){
this.$element("input").showError({
error: 'Up to 6 characters are allowed.'
});
}else if(this.value.length == 0){
this.$element("input").showError({
error:this.value + 'This field cannot be left empty.'
});
}else{
promptAction.showToast({
message: "success "
});
}
},
}
```

> **NOTE**
>
> This method is available when the input type is set to **text**, **email**, **date**, **time**, **number**, or **password**.
## Example Scenario
Enter information by using the **<input>** component of the type that suits your needs.
```html