# <swiper> Development
The **<swiper>** component is a sliding container used to switch between child components. For details, see [swiper](../reference/arkui-js/js-components-container-swiper.md).
## Creating a <swiper> Component
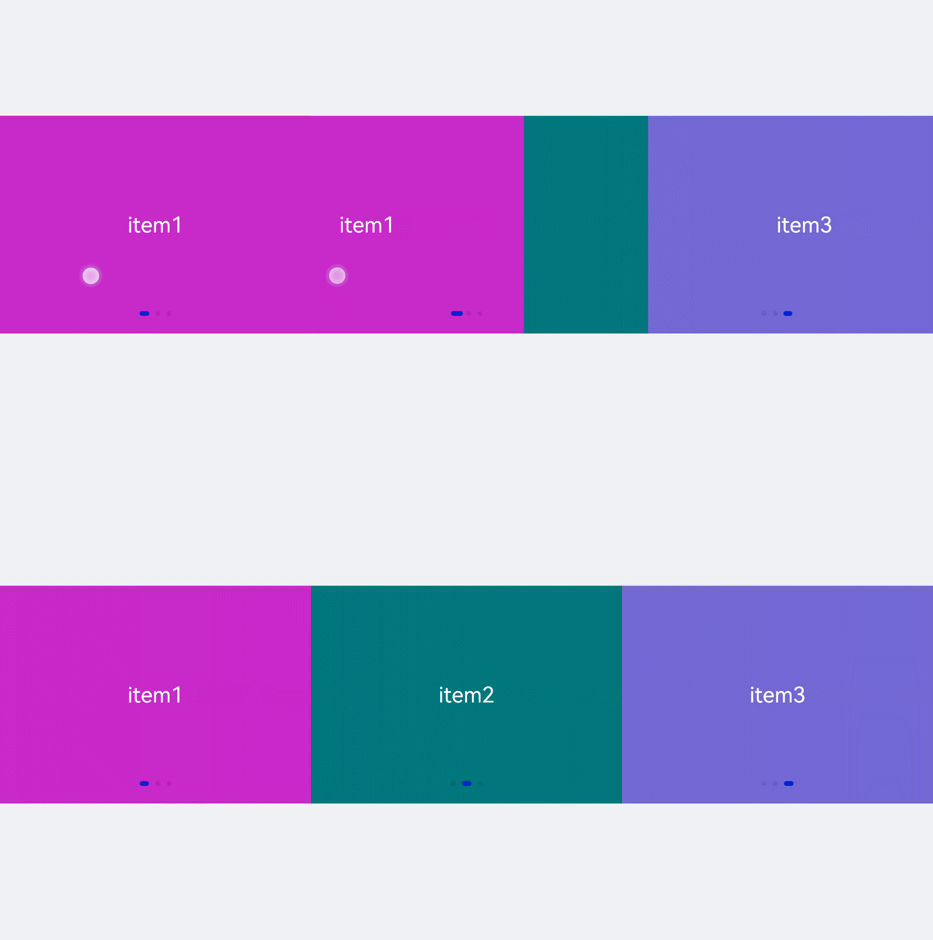
Create a **<swiper>** component in the .hml file under **pages/index**.
```html
item1
item2
item3
```
```css
/* xxx.css */
.container{
width: 100%;
height: 100%;
flex-direction: column;
background-color: #F1F3F5;
align-items: center;
justify-content: center;
width: 100%;
}
swiper{
height: 30%;
}
.item{
width: 100%;
height: 500px;
}
text{
width: 100%;
height: 100%;
text-align: center;
font-size: 50px;
color: white;
}
```

> **NOTE**
>
> The **<swiper>** component supports child components except **<list>**.
## Adding Attributes
When **loop** is set to **false**, the **autoplay** attribute is added to the **<swiper>** component and the autoplay interval (**interval**) is set. The component automatically switches between child components and stops at the last one. Add the **digital** attribute to enable the digital navigation point and set **scrolleffect** to **fade**.
```html
item1
item2
item3
item4
```
```css
/* xxx.css */
.container{
width: 100%;
height: 100%;
flex-direction: column;
background-color: #F1F3F5;
align-items: center;
justify-content: center;
}
swiper{
height: 30%;
}
.item{
width: 100%;
height: 500px;
}
text{
width: 100%;
height: 100%;
text-align: center;
font-size: 50px;
color: white;
}
```

> **NOTE**
> - The **digital** attribute takes effect only when the **indicator** attribute is set to **true**.
>
> - The **loop** attribute takes effect only when there are two or more than two child components of the **<swiper>** component.
>
> - The **scrolleffect** attribute takes effect only when the **loop** attribute value is set to **false**.
## Setting Styles
Set the width and height of the **<swiper>** component, the indicator's size (**indicator-size**), color (**indicator-color**), relative position (**indicator-top**), and color when it is selected (**indicator-selected-color**).
```html
item1
item2
item3
```
```css
/* xxx.css */
.container{
width: 100%;
height: 100%;
flex-direction: column;
background-color: #F1F3F5;
align-items: center;
justify-content: center;
}
swiper{
width: 500px;
height: 500px;
border-radius: 250px;
indicator-color: white;
indicator-selected-color: blue;
indicator-size: 40px;
indicator-top: 100px;
overflow: hidden ;
}
.item{
width: 100%;
height: 500px;
}
text{
width: 100%;
text-align: center;
margin-top: 150px;
font-size: 50px;
color: white;
}
```

## Binding Events
Create two **<text>** components and bind click events. Clicking the component will call **showPrevious** to display the previous child component or **showNext** to display the next child component. Add a **<select>** component. A **change** event is triggered when a user selects a value from the drop-down list box and the **swipeTo** method is called to go to the specified page. Bind the **<swiper>** component with the **change** event (triggered when the index of the currently displayed component changes) and the **finish** event (triggered when the switchover animation ends).
```html
item1
item2
item3
item4
```
```css
/* xxx.css */
.container{
width: 100%;
height: 100%;
flex-direction: column;
background-color: #F1F3F5;
align-items: center;
justify-content: center;
}
swiper{
height: 30%;
}
.item{
width: 100%;
height: 500px;
}
text{
width: 100%;
height: 100%;
text-align: center;
font-size: 50px;
color: white;
}
select{
background-color: white;
width: 250px;
height: 80px;
}
.content{
margin-top: 100px;
justify-content: space-around;
}
.pnbtn{
width: 200px;
height: 80px;
font-size: 30px;
}
```
```js
// xxx.js
import promptAction from '@ohos.promptAction';
export default{
change(e){
promptAction.showToast({duration:2000,message:"current index:"+e.index});
},
finish(){
promptAction.showToast({duration:2000,message:"The switchover ends"});
},
selectChange(e){
this.$element('swiper').swipeTo({index: Number(e.newValue)});
},
previous(){
this.$element('swiper').showPrevious();
},
next(){
this.$element('swiper').showNext();
}
}
```

## Example Scenario
Use the **<swiper>** component to create an image carousel and a thumbnail module at the bottom of the carousel. After a thumbnail is clicked, the **swipeTo** method is called to switch to the corresponding image.
```html